Uploading Your Readiness Metric Source File
The File Uploader lets you bulk-import readiness metric scores (ACT, SAT, NCRC, ASVAB) into Equity Analytics from a CSV.
You'll receive an email confirmation as soon as your file is accepted, and a second outcome email once the import has finished. The outcome email includes the row counts, the column headers you selected, and — if any rows were skipped — a CSV report attached so you can fix and re-upload.
Accessing the File Uploader
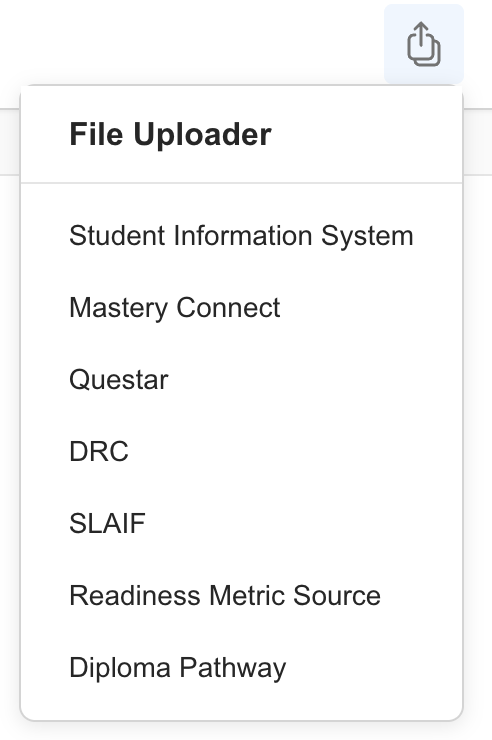
You can access the File Uploader from anywhere in Equity Analytics by finding the File Upload icon on the top navigation bar:
- Click the File Upload icon in the navbar.
- Select Readiness Metric Source from the dropdown menu.
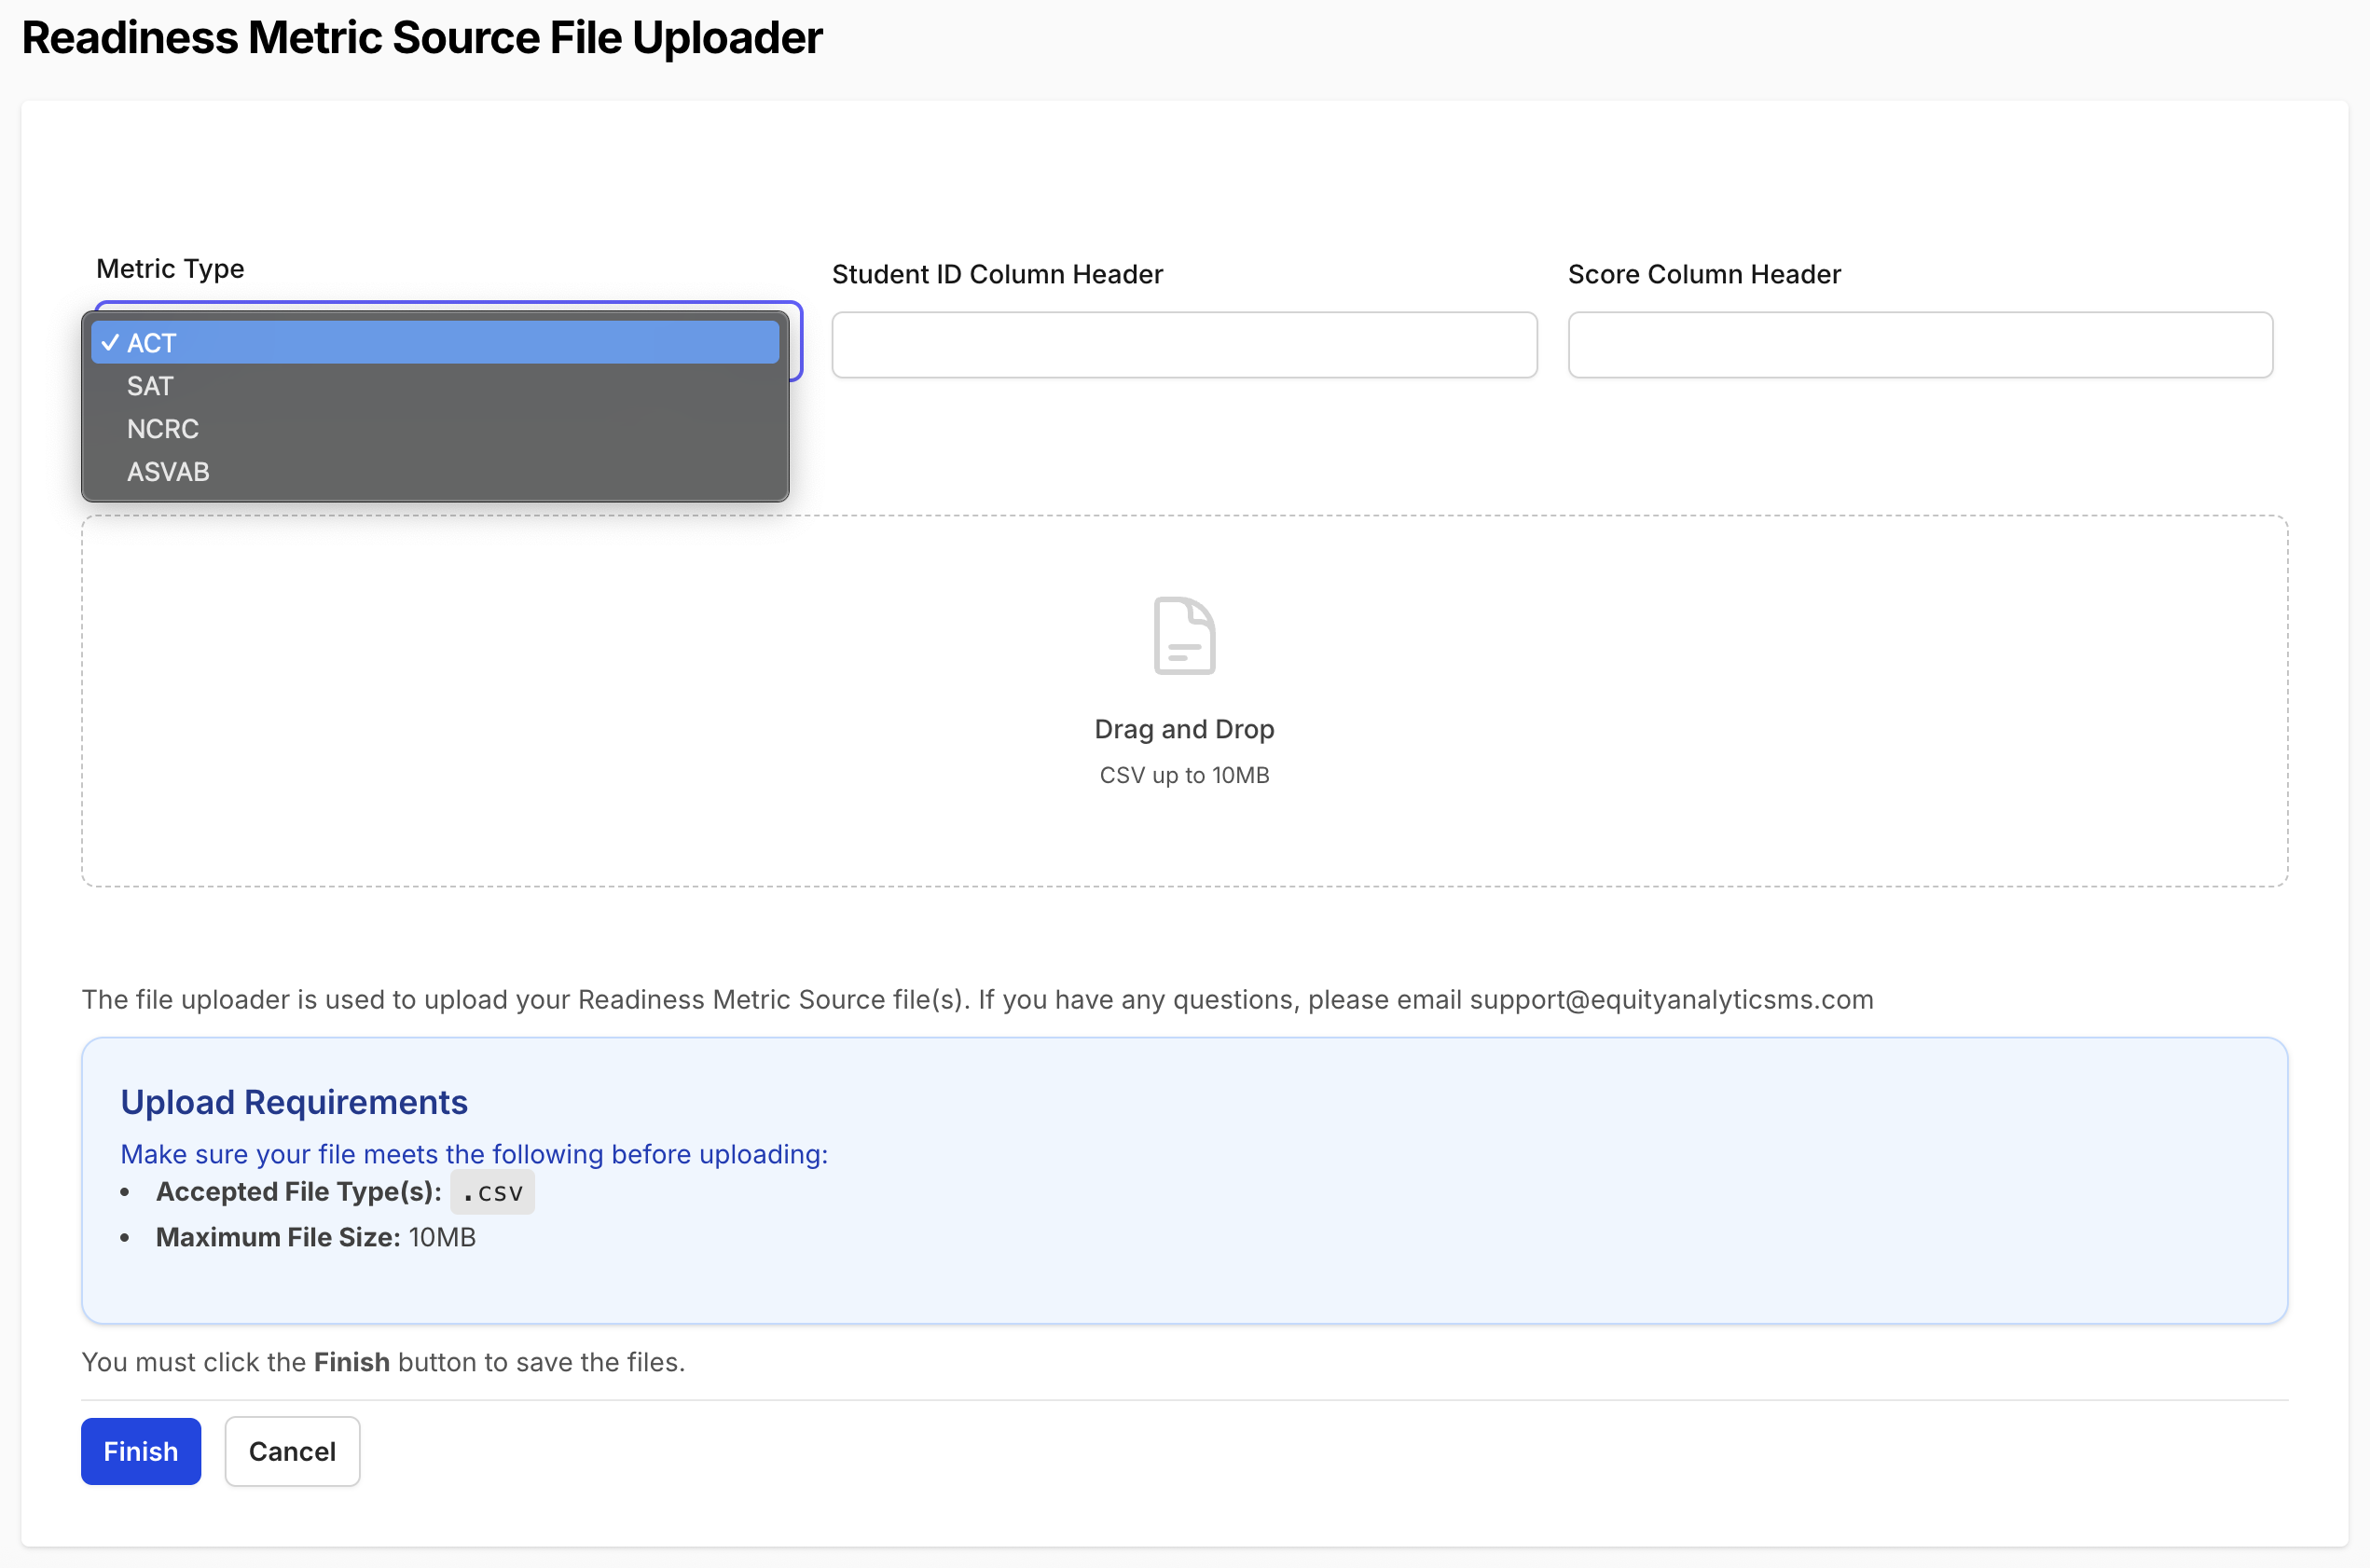
Once you're on the upload screen, you'll see fields for the metric type, the column headers, and the file:
Only District Admins have permission to upload assessment files. If you do not see this option, contact your district administrator for access.
Upload Requirements
| File Type | File Types Allowed | Max File Size Allowed |
|---|---|---|
| Readiness Metric Source | csv | 10 MB |
The file must contain at least these two columns:
- A column with the student's MSIS ID
- A column with the student's composite score
You'll type the exact column headers from your file into the upload form so the importer knows which columns to read.
Composite Score Ranges
| Metric Type | Valid Composite Score Range |
|---|---|
| ACT | 1 to 36 |
| SAT | 400 to 1600 |
| ASVAB | 0 to 99 |
| NCRC | Numeric 0–7, or one of: No Certificate, Bronze, Silver, Gold, Platinum |
When uploading NCRC results, your file may use the certificate level name or the certificate score number. Both are accepted.
Step-by-Step: Readiness Metric Source Upload
- Open the File Uploader. Use the method above.
- Pick the Metric Type. Select ACT, SAT, NCRC, or ASVAB. The metric type tells Equity Analytics how to interpret the scores in your file — pick carefully.
- Type the Column Headers. Type the Student ID Column Header and Score Column Header exactly as they appear in your file (capitalization and spacing matter).
- Drop your file. Drag your
.csvinto the upload area. - Click Finish. A confirmation dialog appears showing the metric type and column headers you picked. Take one last look — if anything's wrong, click Cancel and fix it before continuing.
- Click Confirm in the dialog. Validation runs immediately. If it passes, your file is accepted and processing starts in the background.
- Receive the receipt email. You'll get a Data Upload Notification confirming we received the file.
- Receive the outcome email. Once processing finishes, a second email lands with the metric type, the column headers you used, and a per-bucket summary of imported / skipped rows. If any rows were skipped, a CSV report is attached listing every row in your file with a
statuscolumn so you can correct and re-upload.
Both emails are sent to the user who performed the upload. The CSV attachment is the fastest way to spot which rows didn't make it and why.
What Gets Validated at Submission
Before your file is accepted, the uploader checks:
- The file isn't empty.
- The Student ID and Score column headers you typed exist in the file.
- The values in the score column look right for the metric type you picked. For example, an ACT upload where every value is between 0 and 7 is rejected up front — that pattern looks like an NCRC file picked as ACT by mistake.
If anything fails, you'll see a red message at the top of the upload page explaining what's wrong, and the file will not be saved.
Range validation can't catch every mismatch. Numeric NCRC scores fit inside the ACT range (1–36), so picking the wrong metric type can sometimes slip through. Double-check the metric type in the confirmation dialog before clicking Confirm.
Where Your Data Appears
Once processing finishes, each imported source appears on the Readiness Metric Sources page under your district. Each student's rolled-up readiness numbers update automatically on the Readiness Metrics page, where the contributing sources are listed with the upload time so you can spot mass uploads at a glance.
Troubleshooting
- "Score values in the X column do not match the chosen metric type" — You picked a metric type whose valid range doesn't fit the values in your file. Re-check the metric type before re-uploading.
- "Student ID column name not found" / "Score column name not found" — The header you typed doesn't match the file. Open the file, copy the header text exactly, and paste it back into the form.
- "File is empty" — The file has no parseable rows.
- No outcome email yet — The receipt email lands immediately; the outcome email comes after processing finishes. Give it a few minutes.
- Outcome email shows zero imported — Open the attached CSV to see why each row was skipped. The most common cause is mismatched MSIS IDs.
- Wrong metric type uploaded — If you realize after the fact that you picked the wrong metric type, please open a Helpdesk Ticket and our team will help clean it up.
Need Help?
- Helpdesk Ticket: Helpdesk Ticket
- Website: https://equityanalyticsms.com