Uploading Your SIS Data (Manual Upload)
The File Uploader allows you to manually import Student Information System (SIS) data (for example, from SAM7 or PowerSchool) into Equity Analytics. This method is ideal for one-off updates, quick changes, or when your API connection is not yet set up.
For details on the exact file structure required, see the SIS Data Format page.
Manual uploads process automatically. It may take a few minutes for your data to be processed.
Accessing the File Uploader
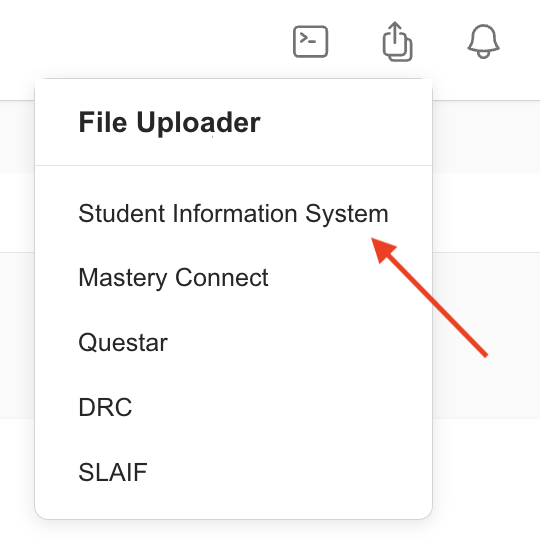
You can access the File Uploader from anywhere in Equity Analytics by using the User Menu:
- Click the File Upload icon in the navbar.
- Select Student Information System from the dropdown menu.
Upload Requirements
Before uploading, make sure your files meet the following:
- Accepted File Type:
.csv - Maximum File Size: 10 MB
- Allowed File Names:
- acceleration_metrics.csv
- district_admin_users.csv
- district_users.csv
- enrolments.csv
- fay_students.csv
- schedules.csv
- school_users.csv
- schools.csv
- students.csv
- teacher_users.csv
- teachers.csv
File names must exactly match the allowed list above. If the file name is different the system will reject the upload.
Step-by-Step: Manual SIS Data Upload
-
Open the File Uploader
Navigate to the file uploader screen using the method above. -
Select or Drag Your Files
- Click Upload files to browse for files on your computer.
- Or, drag and drop your
.csvfiles into the upload area.
-
Verify File Names and Sizes
Ensure each file:- Matches one of the allowed file names.
- Is 10 MB or smaller.
-
Repeat for All Required Files
You can upload multiple files before finishing. -
Click
Finish
This step saves your uploads to the system. -
Receive Confirmation Email
Once your upload is complete, you’ll receive an email confirming that your SIS data has been successfully submitted for processing.
The confirmation email is sent to the user who performed the upload. You’ll receive an email after uploading that includes your name, district, data type, and the exact upload time.
Troubleshooting
- File Rejected: Check that the file name matches exactly and is a
.csvfile under 10 MB. - Wrong Data Displaying: Verify you uploaded the most recent export from your SIS.
- Missing Upload Button: Try refreshing the page or clearing your browser cache.
- Didn’t Receive a Confirmation Email? Check your spam or junk folder first. If it’s not there, please open a Helpdesk Ticket.
Need Help?
- Helpdesk Ticket: Helpdesk Ticket
- Website: https://equityanalyticsms.com